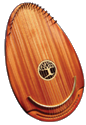
The Reverie Harp
by Musicmakers
Stillwater, Minnesota, USA
![]()
After attending a course and experiencing the Reverie Harp I decided I should have one.
The harp is available fully assembled or as a kit.
With a bit of stress on the budget after the course I favored the kit.
Rated in a scale of hammers 1 the easiest, 5 the hardest, this kit rates 2.
Rating myself as a woodworker on the same scale I'm also about a 2.
After downloading and reading the instructions (available here) I decided to go ahead and order it.
![]()
The kit shipped out the same day of the morning I ordered it.
I received it the next day (I live only 80 miles from Stillwater) and the fun began.
I noticed I had received the standard tree rosette instead of the one I noted on the order.
I emailed Musicmakers, they apologized that the request had been overlooked, sent the rosette I had requested that same day and I received it the next day.
I was told I may keep the tree rosette if I wanted.
The sincerity and expediency of this group is very much appreciated.
![]()
In my minds eye I was seeing it with a blue top.
Where was this coming from?
Who knows but it seemed it was to be.
Doing a little research I found Keda Wood Dyes - beautiful bright non-toxic dye powders you mix with water.
But... I spent quite a bit on this kit... what if I totally screw it up... ruin it... dyes bleed... the slightest mishap could be a disaster...
Then some sensibility kicked in - lighten up - have some fun - there's always black if need be.
I could be the guy with the black harp... ?
Hmmm.
![]()
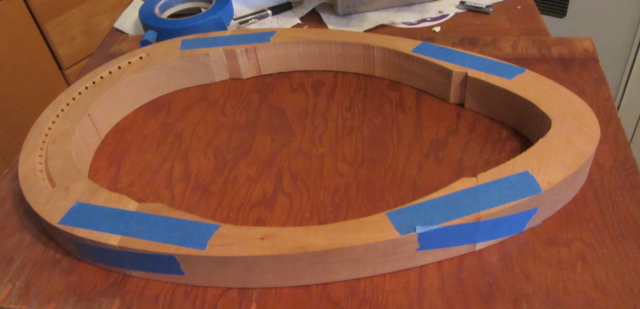
I glued and taped the frame
![]()
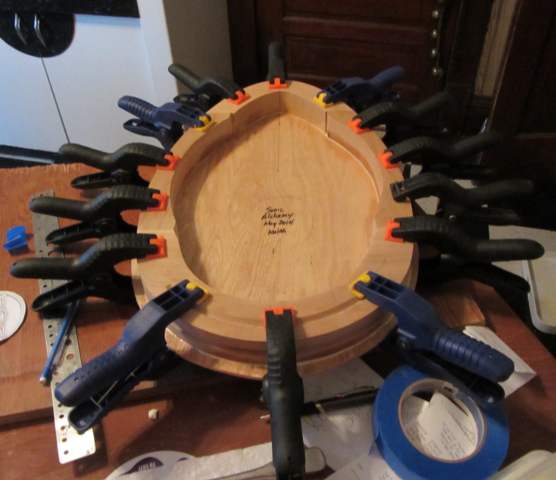
I glued and clamped the bottom
![]()

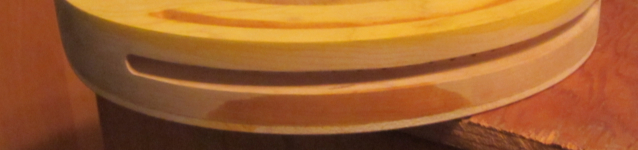
Sanded the edges off
![]()
I taped along the edge of the bottom to test and be sure the Truebond Waterproof glue I used would block any bleeding when the dye was applied to the frame.. success.
I tested the blue on the back side of the top and surprisingly enough it seemed it would work.
![]()
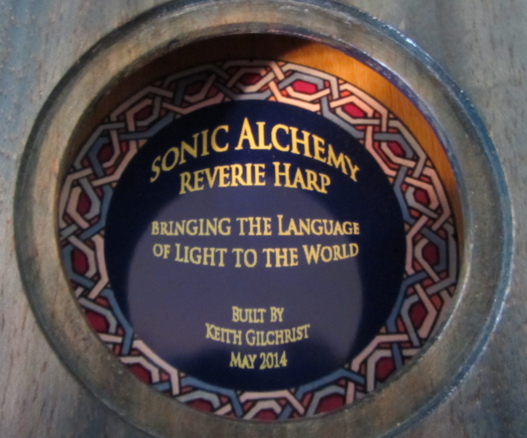
I mounted the label to the inside which I had also dyed yellow..
I thought it best to dye the string mounting ends of the frame and top board where they would meet before gluing since they are different colors.
![]()
I mounted a test label to the back side of the rosette hole with painters tape to keep dust and debris from the inside yet could easily be removed when finished.
It worked well - I recommend it.
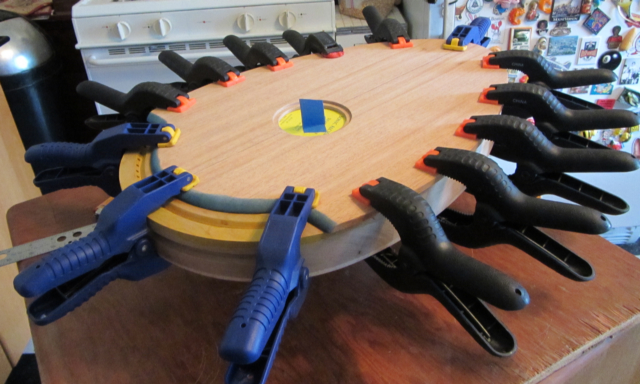
I glued and clamped the top.
![]()
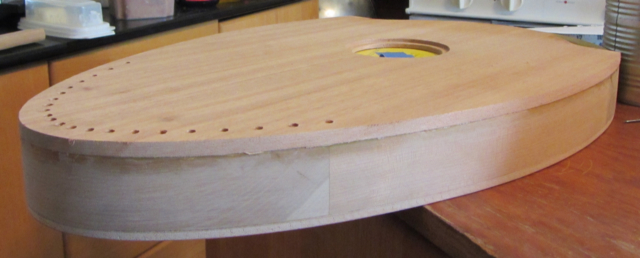
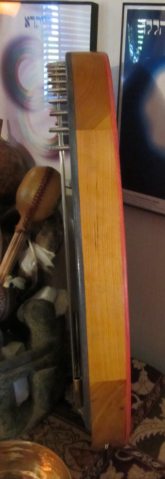
I drilled the zither pin holes then sanded the top edge even with the frame.
![]()
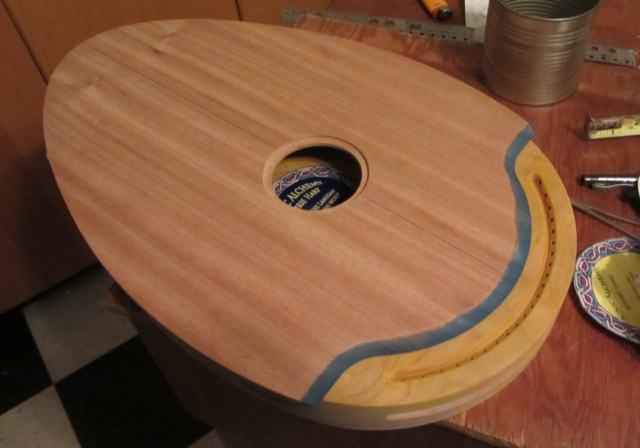
Before rounding the top and bottom edges I taped them then dyed the frame.
![]()
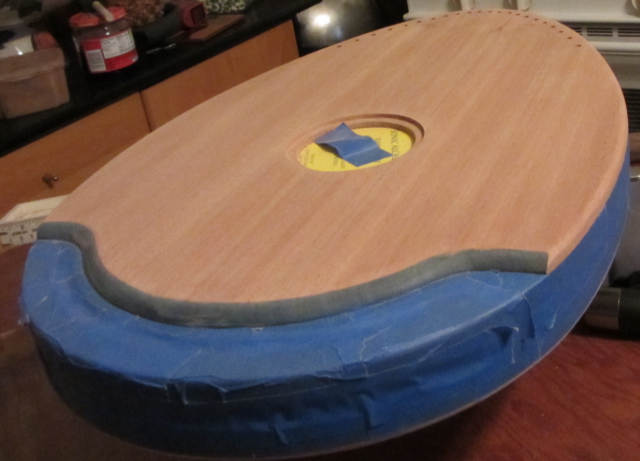
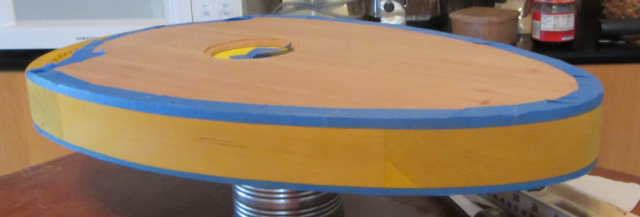
Allowing the frame to dry twenty four hours I then taped it up and did the sanding of the top and bottom surfaces preparing for the dye and rounding the edges.
![]()
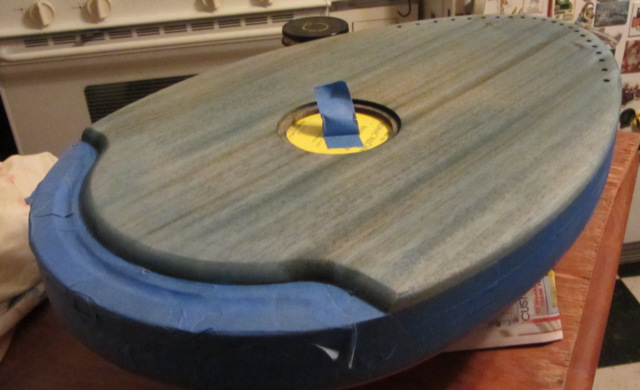
The first application of the blue did not take to the deep grains so well.
I allowed it to dry and then another for a total of three coats and stopped.
It seemed it would get no better and I didn't want it too dark.
With the dye being water based some light sanding was needed between coats.
![]()
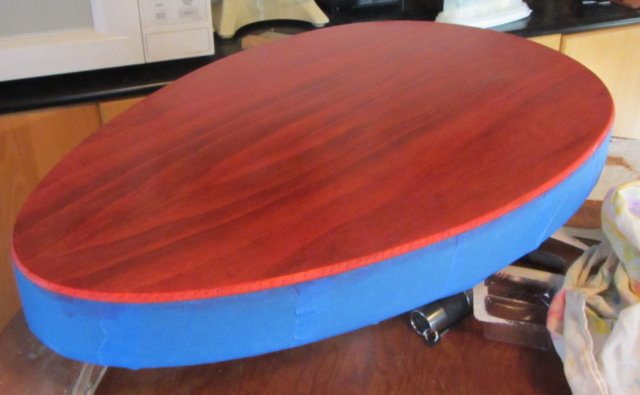
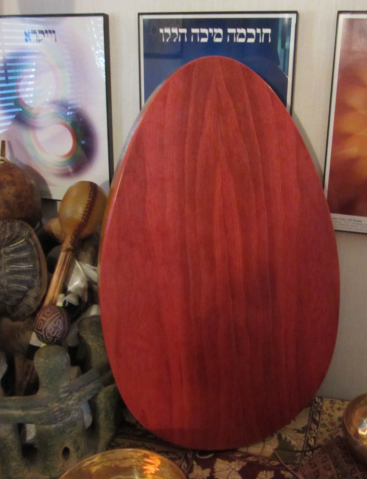
With the type of veneer used on the bottom red seemed the only choice... worked very well, two coats.
![]()
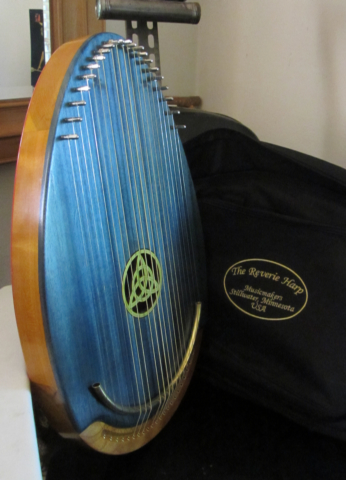
After drying twenty four hours I removed the tape and I was stunned - it worked.
![]()
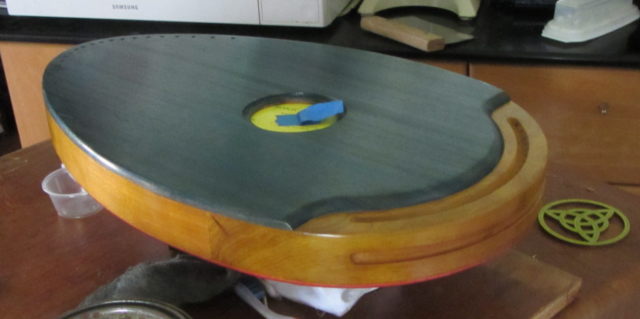
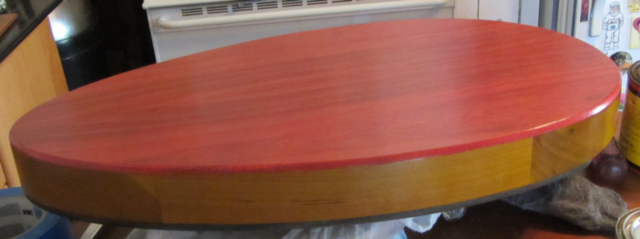
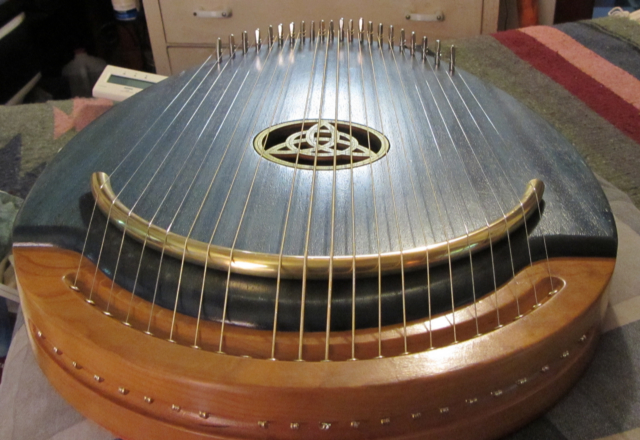
Some final sanding, touching up, three coats of the Gel Topcoat finish from Musicmakers, a little wax, and wow.
![]()
![]()
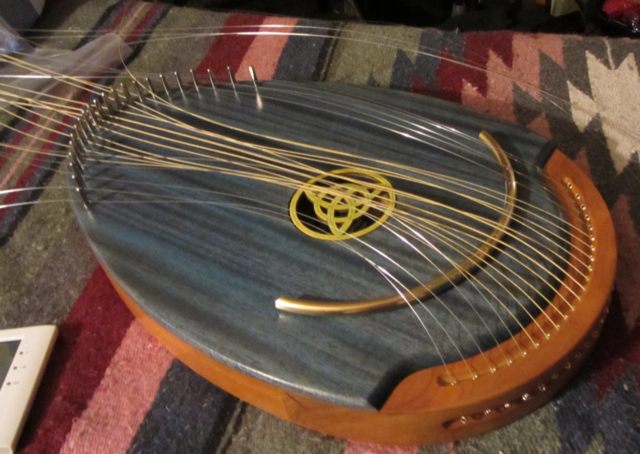
The rosette, some hardware and strings.
![]()
I had some very sincere doubts, thought I'd likely end up with a black harp, not so... I'm glad I pursued it.
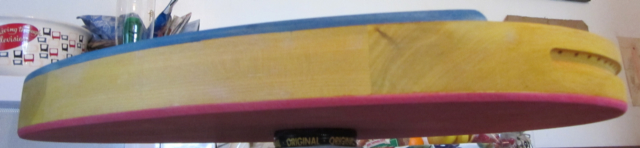
A realization afterward that Earth, wind, fire, and water are represented through the colors used.
And there ya go (said in Minnesotan ya know)
My thanks to Musicmakers for all they do!
![]()
And yes - I am single so I did most of this in the kitchen - just because I can.
![]()